Showing posts with label manualidades. Show all posts

Tuesday, July 22, 2014

Adventures in Upholstering

During the last hurrah with the fellow volunteers from my group, someone decided that we all needed nicknames.  Then, someone decided that mine would be sexy grandma.  The grandma was in reference to my love of crafting, and the sexy was probably to make me feel better about being called a grandma at age twenty-six...also, as numerous Nicaraguans have pointed out, I am nalgona.

Anyway, the love of crafting and diy is definitely true, and as I face a more domesticated life here in the states, I have been fixated on getting an ottoman.  Not sure why, I just really wanted one.  So when I found my old little seat stuffed in the back of a hall closet, I knew what I had to do.


I remember being a little girl, sitting on this vanity chair and making silly faces at myself in the mirror.  I thought the pink checkers were great back then, but I now wanted to give it an update.  Luckily, I was able to travel to Portland in May for a friend's wedding, and while I was there, my ever crafty friend took me to Bolt, where I found this fun fabric.


With my brother's staple gun in hand, and pinterest instructions on how to upholster (favorite tip: don't try to upholster something unless it is puffy and has ledges that scream, "staple gun me here!"), I began.
First, I had to remove all of the previous staples...this was not as easy as I had thought.

There were layer upon layer of staples, and all at difficult angles, so that I couldn't really get at them with the staple remover.  I had to use my tapestry needle to get up under them and pry them up.  It took me the length of an entire movie just to get the piping off.

And under that were more staples.  They were so close to the bottom that I couldn't fit anything under them to pry up, so at that point I just decided to leave the old fabric in place, figuring it would hold the stuffing in place anyway.

You won this round, pink fabric.
Finally, I was ready to staple the new fabric in place.
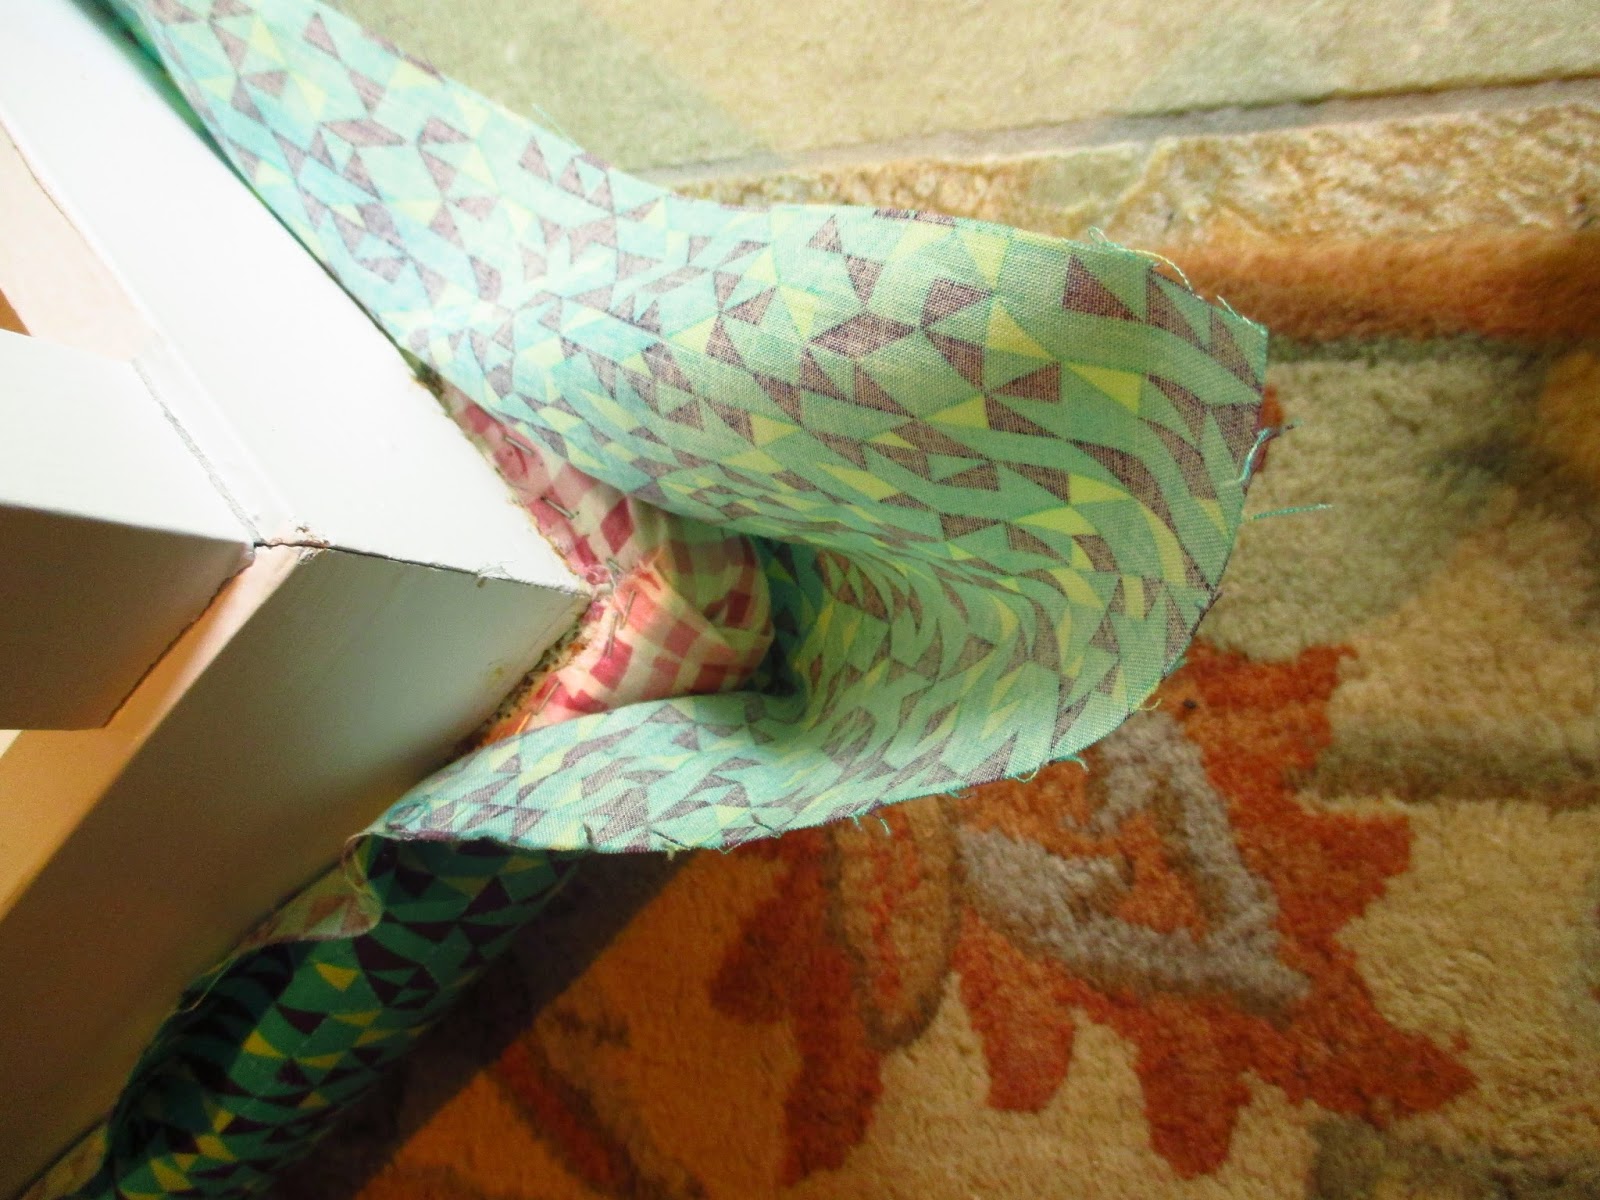
The corners were tricky, but I took the corner of the fabric and stapled that down first, then folded and stapled in the leftover edges.

It looks just passable.  I'm glad people won't be inspecting the bottom of this thing.

Now to trim off the excess fabric.

Except, just when I had the seat at an angle where I could cut, my parent's cat decided she wanted to be sitting on it.  Thanks, Charm.


Finally free of excess staples, fabric, and cat, here is the more modern little ottoman/vanity seat.
Sexy grandma indeed.

Saturday, July 19, 2014

Juguetes para el Desarrollo

In the spirit of this post I'm sharing another arts and crafts activity to do with your community.  This time, it's child development toys.  Again, it is in Spanish, but the photos make it fairly straightforward.  Stay tuned for more diy projects, this time in the states.  I originally saw these toys when a fellow volunteer, Sarah O, showed me how to make them.

I. Motivación
Los niños necesitan estimulación temprana para desarrollarse correctamente.   

Materiales:
Tela                                                                                                                                                            Cinta
Aguja de coser
Hilo

Chichíl
Tijeras
Marcadores

Pedazo de cartón, cortado en un círculo de 4”

II. Información
 Se dibuja en la tela alrededor del pedazo de cartón, haciendo un círculo. 

Se corta ese círculo.  Se repite pasos #1 y #2 hasta que tenga dos círculos idénticos.

Se dibuja una cara alegre en uno de los círculos.
Se cortan la cinta en pedazos de 1 ½ o 2 pulgadas, hasta que tengan 10-20 pedazos de cinta.


Se cosen los dos círculos juntos, pegando los pedazos de cinta, uno por uno, entre los círculos.

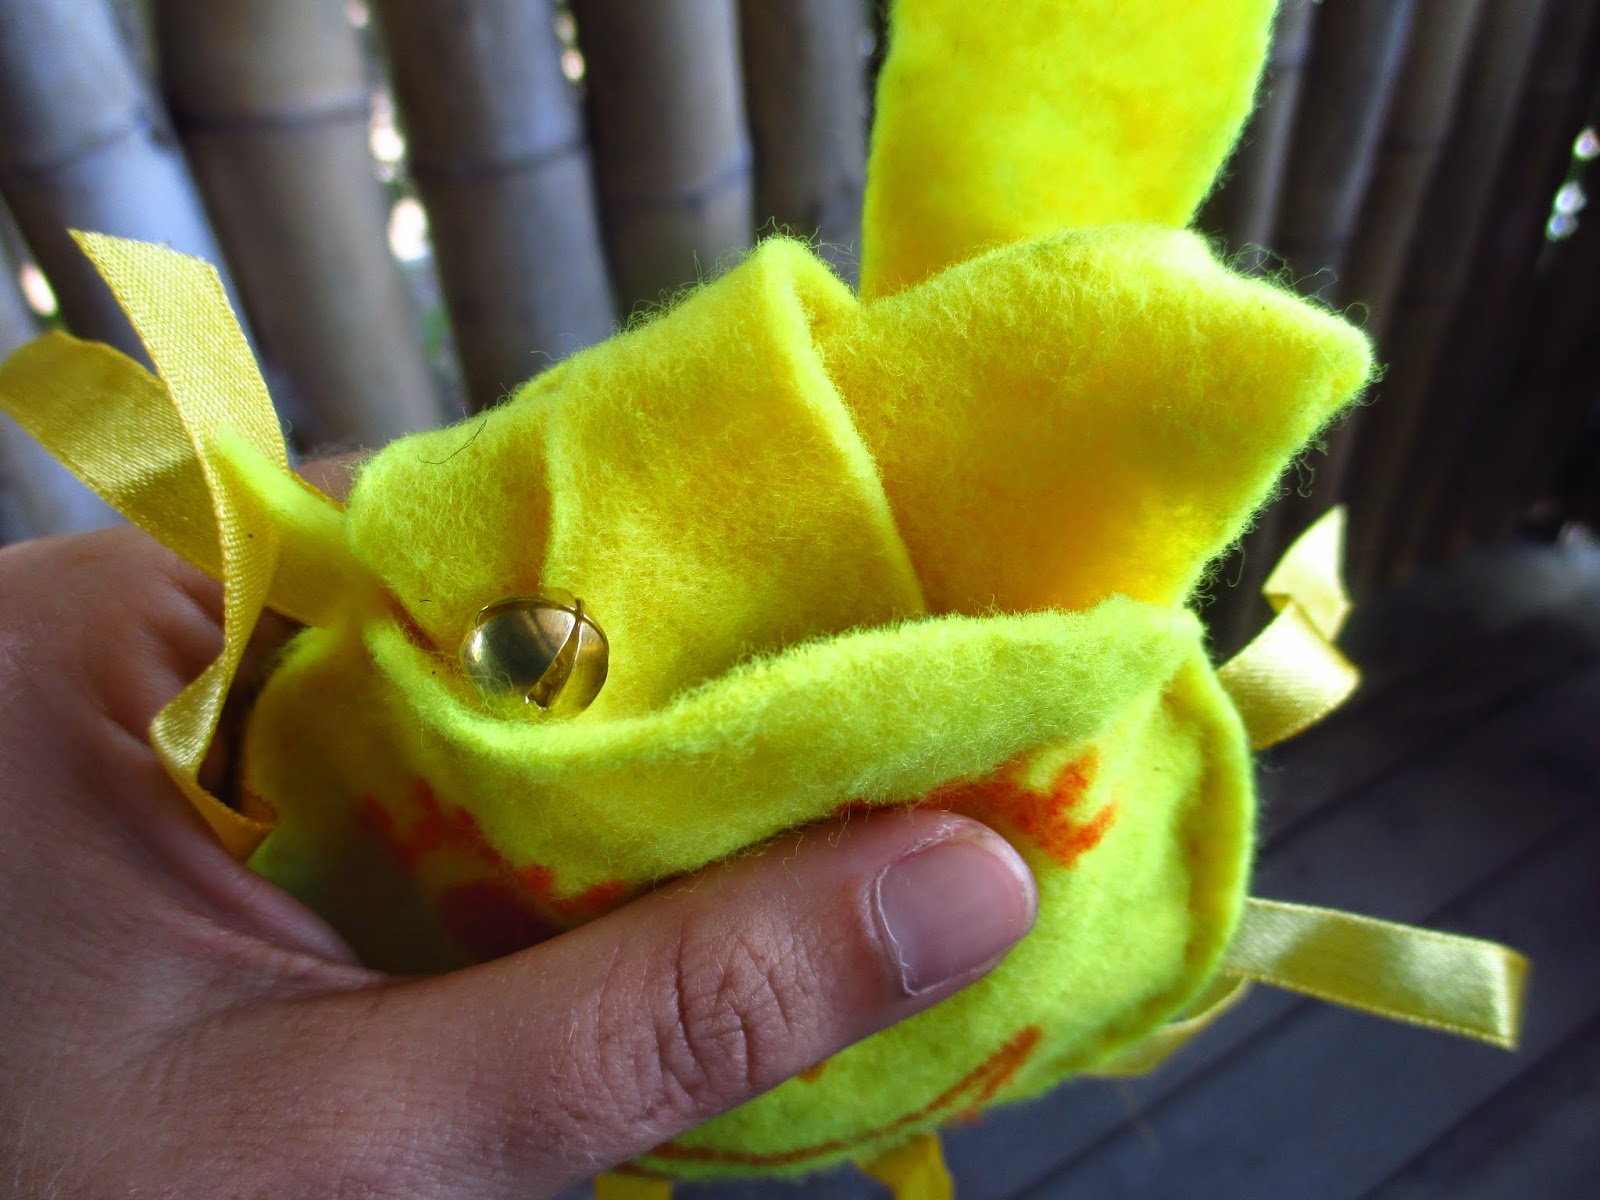
Se sigue así, cosiendo los dos círculos, y pegando los pedazos de cinta cada 2 centímetros, hasta que haya sólo 2 pulgadas del círculo que estén abiertas.  Se llena este espacio con el chingaste de la tela y 2 o 3 chichíles.  No se llena mucho, para dejar espacio para que suenan los chichíles.

Se sigue cosiendo, hasta que esté completamente cerrado el juguete.  Se hace un nudo al posterior del juguete.


III. Practica
  • Esta manualidad debe de ir acompañada con una charla sobre el cuidado de los chiquitos.  Así que, es perfecta para presentar en la casa materna, o en un grupo de mujeres embarazadas.
  • Siempre hay que refortalecer la importancia de ayudar a los niños desarrollarse las habilidades motores desde sus primeros días

IV. Aplicación
Que los padres de niños lo ocupen para ayudar en el desarrollo de sus hijos.
  • A un mes que lo usen para que el bebé lo siga con sus ojos.
  • A los dos meses que el bebé lo siga con la cabeza.
  • A los tres meses que el bebé gatea al juguete.
  • A los cuatro meses que el bebé intente a agarrarlo.
  • A los seis meses que los padres lo use para animarlo que gire de boca abajo a boca arriba

Tuesday, March 18, 2014

Chanchito de Plastico

The past week or so, I've been frantically typing on my computer, trying to finish work of the health sector.  It all relates to our goals and objectives that would probably not be interesting for anyone not involved in it, but part of it is compiling arts and crafts activities that volunteers can use that will related to some of those goals.  So I thought I would share one activity, and how it relates to our project...in Spanish.  Hey, don't complain, we have google translate, and I am doing all this work in Spanish to begin with, and damned if I'm spending more time translating it back again.

Here is how to make a piggy bank out of a plastic bottle, and how it can be used to get kids thinking about making future goals.  *This craft has been around for a while, I didn't think it up, just put pictures to it*


I. Motivación

Con un lugar para guardar su dinero, se plantea la idea de planear para la vida.
Una actividad de reciclaje también refortalece la importancia de cuidar de nuestra planeta.


Materiales:

Botella plástica con tapa
4 tapas de botella
Cuchillo
Tijeras
Pega silicona
Marcador

Pintura (opcional)

II. Información

  • Se corta la mitad de la botella.

  • Con el cuchillo, se corta un hueco en el parte anterior de la botella.

  • Se pega los dos extremos de la botella.
  • Del plástico de la mitad, se cortan dos triángulos para hacer las orejas.

  • Se pegan a la botella.

  • Se corta un pedazo para la cola, y se enrolla para que se vea rizada.

  • Se pega al trasero del chancho.
  • Se pegan las tapas para hacer las patas del chancho.

  • Se dibujan la nariz y los ojos.

  • Si quieren, se puede pintar el chancho.

III. Practica
·         Esta manualidad debe de ir acompañada por una charla sobre la importancia de pensar en el futuro/tener metas.
·      También se puede hablar de la importancia de pensar en el futuro del planeta, y cuidar el medio ambiente.
  
     IV. Aplicación
     Que los participantes ocupen sus chanchitos para guardar dinero para cumplir sus metas futuras.

Friday, January 3, 2014

Happy New Year

It is a new year.  As is the Nicaraguan tradition, the life-size dolls representing the old year have been burned, and it is time for me to get my act together.  My resolution is to be a more put together adult.  That means better cooking, trying to stop my hair from being crazy, responding to emails at a decent time, and updating this blog more often.  We'll see how long that lasts.  I predict it will go something like this.

I will try though.  So to celebrate the new year, here is a craft to do on your own, or with your pregnant women's group.  I know you all have one of those.  These little origami stars are fun on their own, or strung up as a garland, or as little earrings.  As you'll see later.

First, start with a strip of magazine paper that is about half an inch wide.  Don't make it much wider, unless your strip of paper is extremely long, or it will be too flimsy to do the last few steps.
I show two strips of paper here, but you only need one to make a star.
Bring the top of the paper down, then pass it through the loop to make a knot.

Don't pull so hard that the paper rips, just enough to make sure that nothing's too loose.  This takes some practice, don't worry if it takes a few times to get it right.  At the end, it should look a bit like it does in the photo below.
The tail on the left might turn out a little longer.
 Flatten your knot, pulling it to maintain its shape.
Just don't pull so hard you rip the paper!
 Tuck the tail on the left into the pocket of the knot.

That's the hardest part done!

Now, start folding the long tail around your flattened knot, making sure it always lines up with one side of the knot.

Keep going until you have just a little left.

Tuck the rest of the tail away.

 You should now have a little pentagon.

 Using your thumbnail, make a dent in each of the five edges.

Ta da!  Now you have your own little star!

You can do a lot of different thing with these little guys, like make them into earrings and take very awkward selfies of yourself with them.

Happy 2014


Thursday, June 20, 2013

Wednesday, June 19, 2013

Crafts for Kids, or How to Campo-Laminate

My landlord works right below me, and his five year-old, Isabella, sometimes comes up to visit me.  We end up either coloring or removing the cushions from the sofa to jump on them like a trampoline.  I plan on teaching her the-floor-is-lava game pretty soon.  A few days ago, as I was searching for something for Isabella to color, I came upon a print-out of a doll* I use to teach children about nutrition.  He comes set with eyes, clothes, shoes, and a leg-bone that I tape on him after he eats from the proper food group (formadores give him eyes and the bone, protectores give him his clothes, and basicos give him his shoes, while energeticos make him run around) until he is happy and healthy, because he ate from all the food groups.  It's a fun way for kids to learn the importance of eating a more varied diet, but it's also a fun activity for a bored five year-old.

Isabella really enjoyed coloring the print out, and then taking the photo to document her work.

She kept on trying to sneak out of my photos though.  This is the clearest shot I got of her.
Pretty soon after she finished coloring the doll, it was time for her to go home, but she left the paper with me.  Today, as I was leaving the health center, I ran into Isabella and her dad in the waiting room.  She had had a mild allergic reaction to something, and was getting an injection to help with the swelling.  I thought I would do something to help cheer her up, so I went home to finish making the doll she'd colored.

First, I cut out the doll and all the accessories she had colored, and then worked on "laminating" all of the parts.  Obviously, there really isn't anyway to do that professionally here, but thankfully I've learned a passable alternative that you can do with just some clear tape and scissors.  I call it campo-laminating.


Using a flat surface, just place strips of clear tape on the front of what you want to laminate, doing it so that a good amount goes over the edges of the paper.  Take your time, and be careful so you avoid making as many wrinkles and bubbles as you can.  Once you're done with one side, flip it over and repeat on the other.
Next, cut out the shapes, making sure not to cut directly next to the paper, but just a little bit around it.  By leaving a little border of clear tape, you'll ensure that both sides stay stuck together, protecting your laminated creation.

Once I'd laminated the doll, I could tape all its parts to the main body for the finished product.

Now Isabella can play with a doll that she colored herself, and that will last longer than it would if it weren't campo-laminated.

There you have it - a fun activity that you can do with kids, giving them a doll of their own creation to keep for rainy days to come...now let's see if Isabella likes her surprise when I give it to her tomorrow.


*It's adapted from the book Actividades Saludables, by RPCVs Patrick McGee and Angelina Zamboni, which has been of immeasurable help to me during my two years here.  I've simplified some explanations, and added some others to incorporate clothing at the request of my panzonas, who insisted that the doll was not complete even after eating a complete meal, since he was still naked.